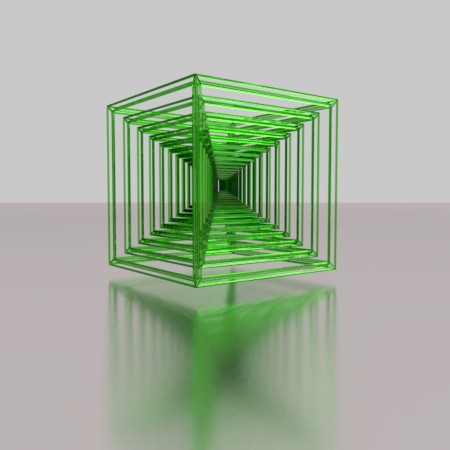
NESTING CUBES: WIREFRAME MODIFIER
1-Begin with the start up cube
2. Click on modifier icon (wrench) top right side and add "Wireframe" modifier. Click again, add modifier and add another "Wireframe" on top of the first one.
3. IChange the thickness of the bottom (first) modifier to 0.35 from 0.2
4. Add an Empty plain axes using shift-A add modifier
5. Add Modifier, "Array", select the cube, unclick relative offset and click on object offset.
6. Select the empty then hit "S" on the keyboard, .85 on keyboard then enter.
7. Set count to 16 on Array modifier.
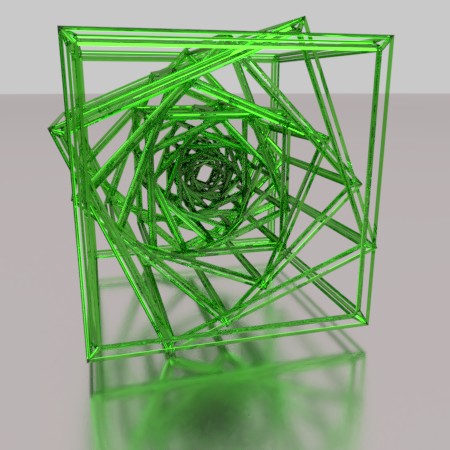
8. Cool variation (illustration 2), click on empty in outliner and then click on the cube icon and enter 22.5 in rotation box
Congratulations, the modeling is done... now time to set up the lighting and the materials.
1. put the 3D cursor below the object, Shift-A, Add "Mesh>Plane"
2. "S", 100, left click.
3. Select the lamp in the outliner window, choose sun, increase size to 1, click use nodes, set the strength to 6.
Next to object mode, select "rendered" view, make the "World" lighter
4. With plane selected, "materials>Glossy, Roughness .035, color, light
5. Select orb, materials> new, glass, color "your choice", roughness 0
Use GPU compute in render settings.
6. Select Camera, "N", click lock camera to view, press "N"
7. Sampling: 300
8. Click on layers icon next to camera and click on "Denoising"
9 Render by hitting f12
10 Save image by hitting f3, name image, upload to Google Drive
Radial array of altered cubes


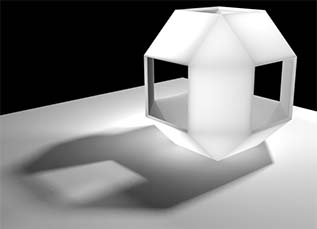
Open face polyhedron
Stainless Steel render

Project 1
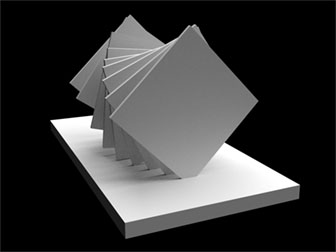
Serial Planes
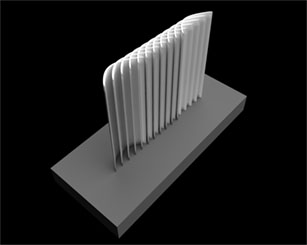
Serial Planes
Project 1
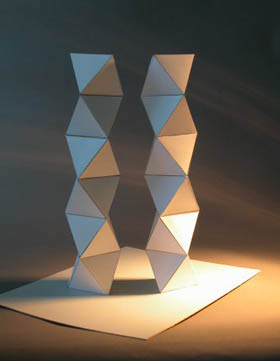
Octahedral Columns
Project 4